Your Cart is Empty
- Shop by Category
- Shop by Brand
- Shop Sale
- Custom Wheel Build

September 24, 2018 3 min read
With all of the different axle and driveshell standards available today, it can start to seem like a given hub will only work on one specific frameset, with one drivetrain, but thankfully, that isn't necessarily true!
All of the hubs we sell are made to be backward and forward compatible because their designers don't want you to have to buy something that will only work on your current bike. Your Chris King hubs are long term investments that will last through the years and across bikes and drivetrains, so they need to be able to be kept current!

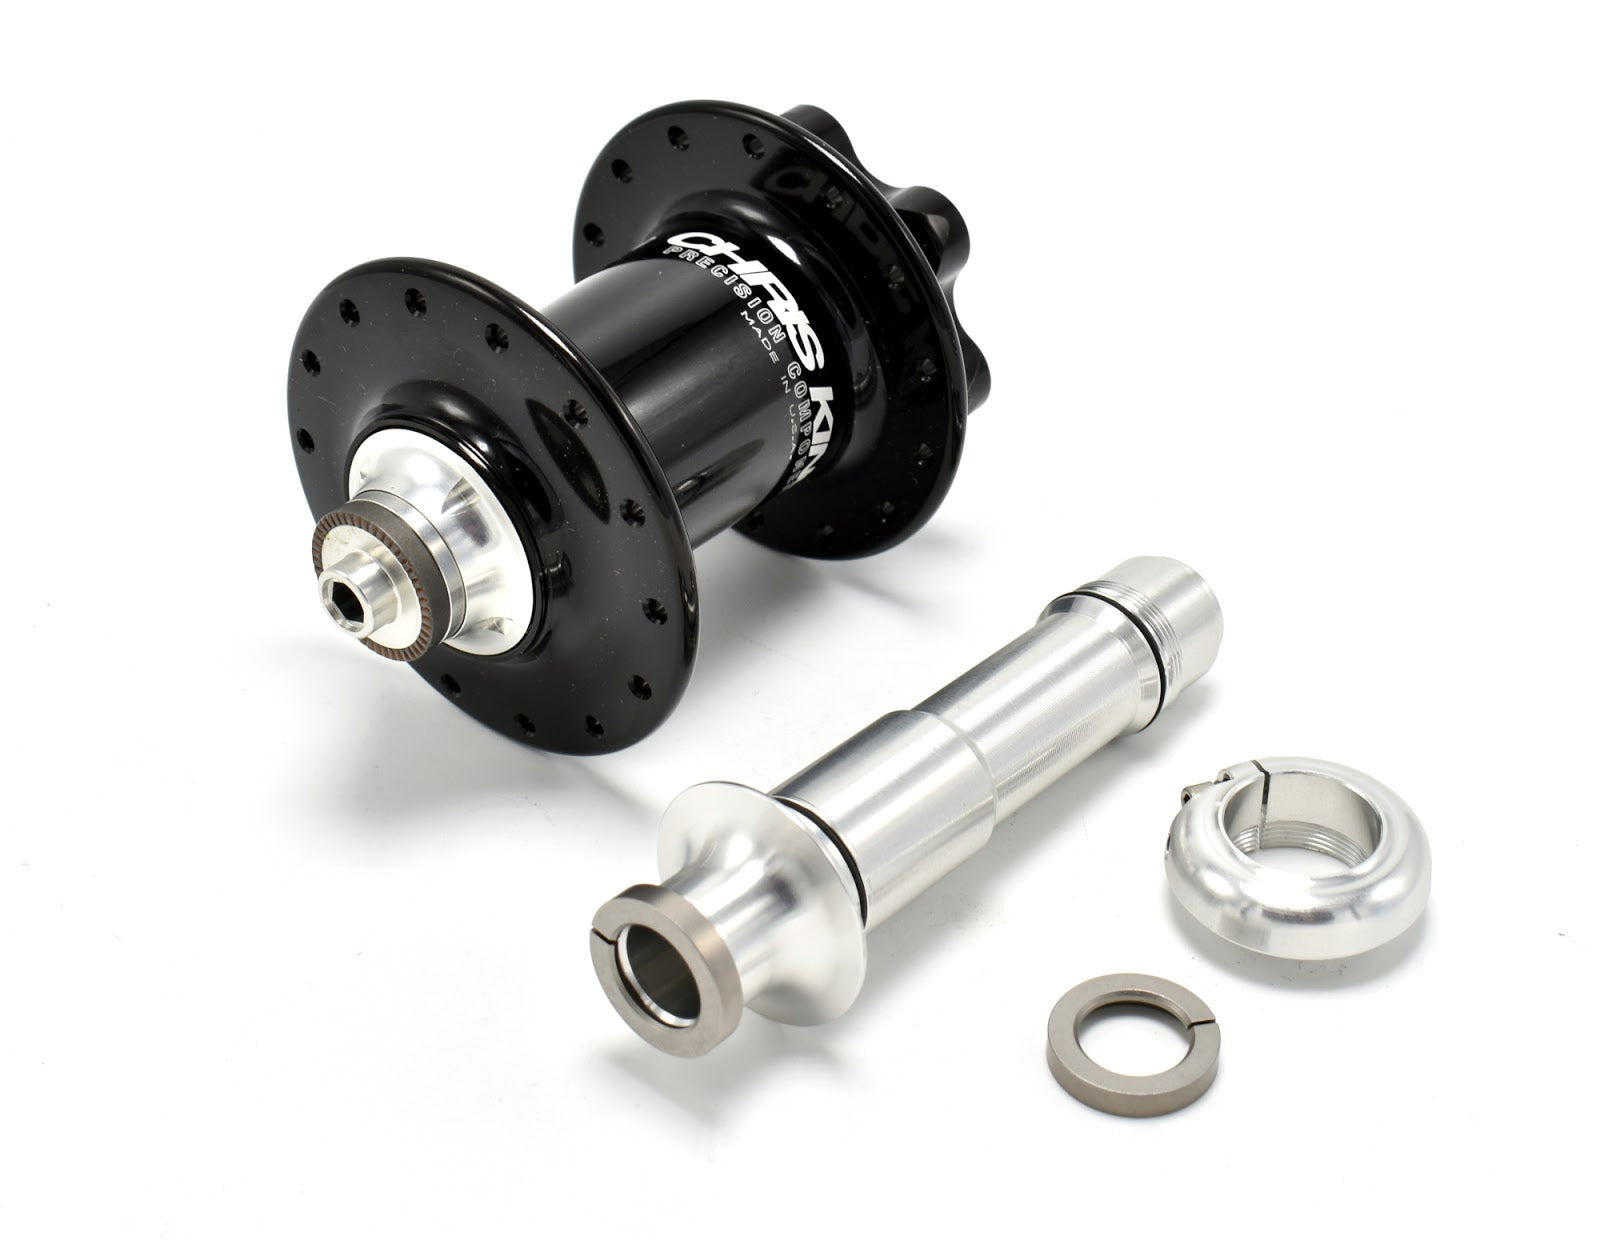
Whether you have a front hub with a quick release axle that you'd like to convert to 12mm thru-axle, or a rear hub that needs a standard change, the swap is easy. We recently had to swap the axle in a Chris King rear hub, and wanted to show the simple steps involved. This applies directly to all Chris King ISO and R45 hubs. For Chris King Classic hubs, the steps are very similar, but involve different tools. Note: because of the different hubshells involved, boost and non-boost hubs are not interchangeable.
A note on Boost compatibility. Currently Chris King does not offer any replacement axles to upgrade non-Boost hubs to Boost standards. The only way to get Boost compatibility is to purchase a pair of Boost hubs.
Tools needed:
2.5mm allen key
Small flat head screwdriver
Small quantity of a high-quality lubricant such as Chris King Performance Hub Bearing Grease, a 10wt motor oil or Tri-Flow.
Chris King Axle Hub Cone Tool(if you are working on a front QR hub).
Parts Needed (to swap front hub from QR to 12mm Thru Axle):
Note: If you are looking to perform this upgrade on a hub other than the front QR one we have shown here, you can browse the parts required here, or please contact us and we can help you find the exact parts needed for the hub in question.
Step One
Insert the screwdriver into the small split in the end cap, gently twist and pull it off. The cap is shown below after removal for clarity.

Step Two
Use the 2.5mm allen to loosen the bolt on the axle adjusting clamp. Unscrew and set aside the axle clamp. Note: both bolt and axle clamp have standard threading, so they turn counterclockwise to loosen.

Step Three
Press out the axle from the non-driveside of the hub toward the driveside. Firm hand pressure should be enough to remove the axle. The driveshell (freehub) might stay in the hub or it might come out as well. It isn't necessary to remove the driveshell from the hub, but if it comes out it's not a problem, and you can simply reinstall it by gently pushing it into the hubshell while twisting clockwise. You will hear a click when it is fully seated.

Step Four
Put a few drops of lubricant on the new axle (just enough to wet the surfaces that will be touching bearings, as well as the threaded portion of the axle), and slip it into the driveshell, threaded side first.

Step Five
Now thread on the adjusting clamp until it touches the bearing. Check for binding and play, readjust if necessary, and if all is good tighten the 2.5mm allen bolt to 10 inch pounds.
At this point you're all done, so go ride your bike! After making adjustments to your hubs, it's a good idea to check them for play in the first couple of rides just in case something settles a bit.

November 18, 2025 1 min read

October 20, 2025 2 min read

August 12, 2025 3 min read